A5 size railway model layoutEven if you can make one, it is meaningless if there is no vehicle that can drive it.Therefore, a special vehicle was also created.I didn't have the desire to make a power source, so I used the easiest ready-made product.Kotetsu power unit made by TomytecI tried to select.
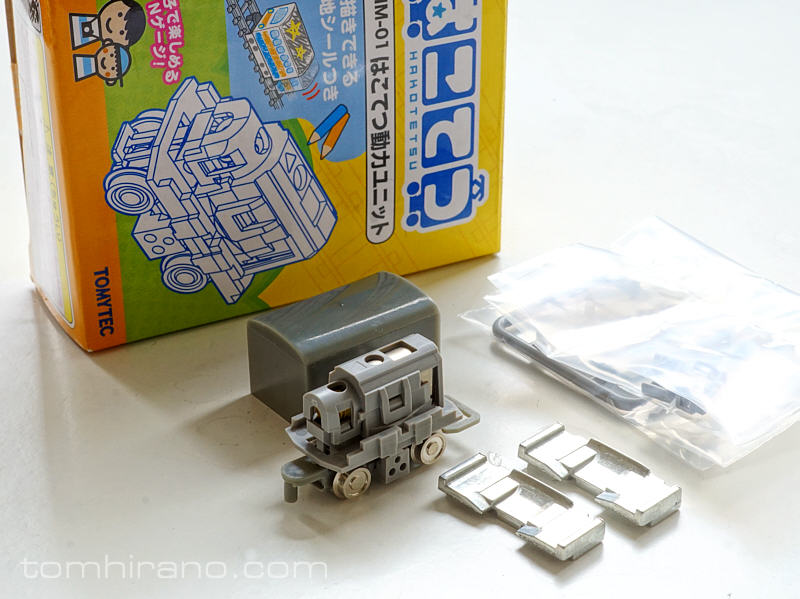
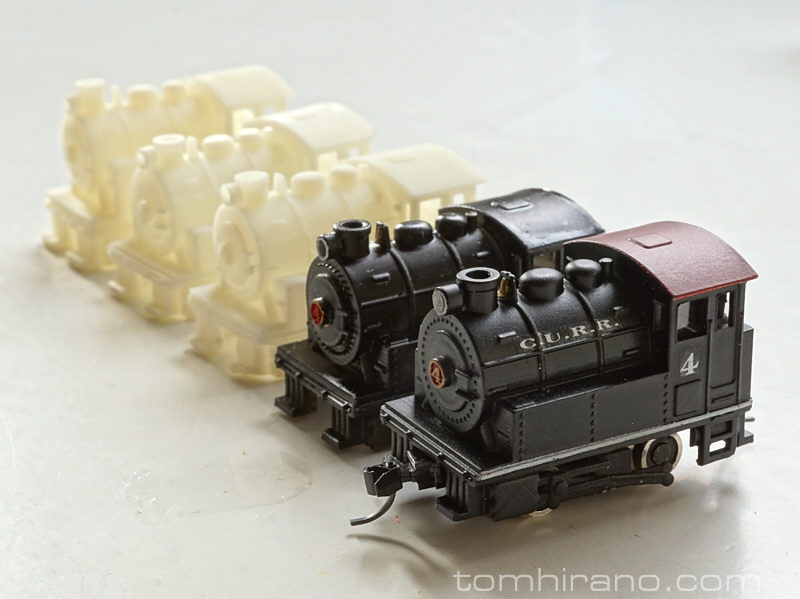
I like this Hakotetsu power unit because you can attach it to the side of the undercarriage as you like, and the motor area is also quite compact.Even if the boiler part of a steam locomotive is thin, it will somehow fit.However, if you use it naked, the running performance will decrease because no weight can be placed on it.In particular, it is difficult to make close contact with the railroad tracks, so depending on the condition of the railroad tracks, current collection may become unstable and movement may become jerky.
However, since I was in the mood for a steam locomotive, I decided on a B tank style steam locomotive.Through trial and error, I tried to make the boiler as compact as possible.I somehow managed to hide the protrusion of the power supply at the height of the water tank on the side.I lined up the prototypes.
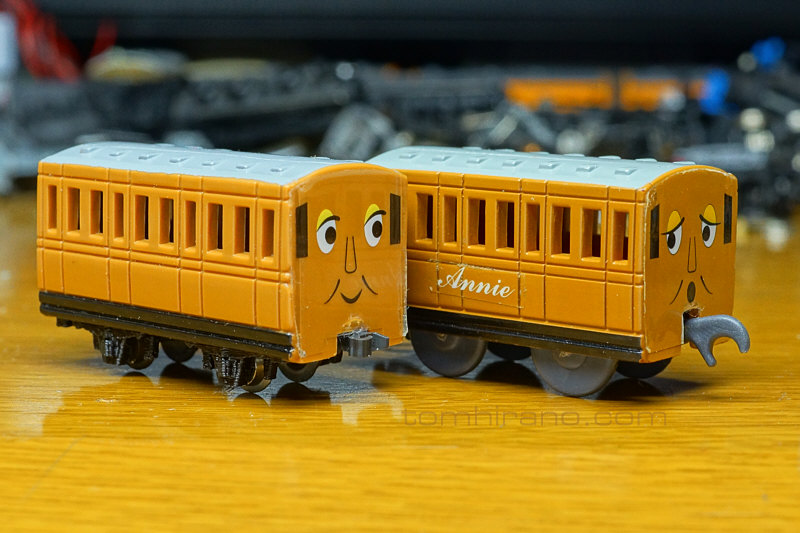
The passenger car was designed by a freelancer based on an American heavyweight passenger car to suit the SL.I made a clerestory roof (double roof) as an accent.Connecting two of the same passenger cars would be boring, so one would be a seating car and the other an observation car.Because the vehicle is short, the doors are only on one side, but it somehow manages to create an atmosphere.
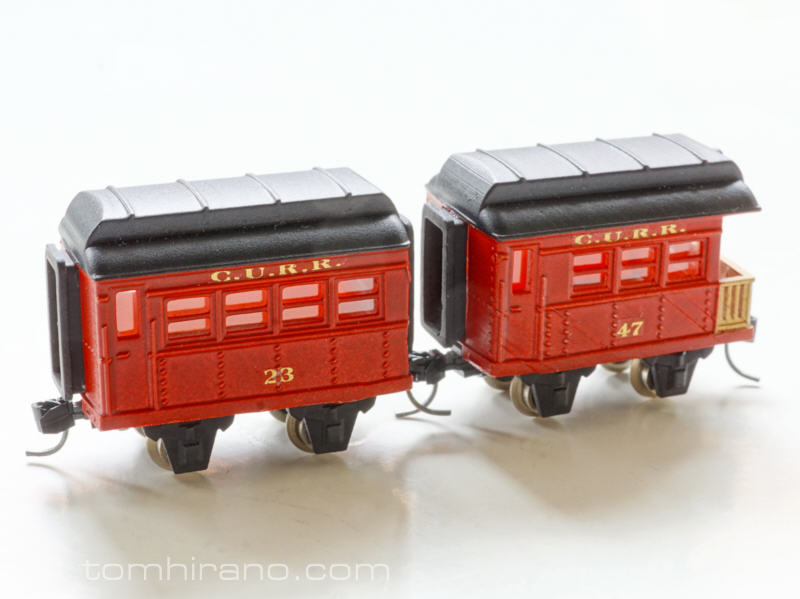
The undercarriage of the passenger car was previouslyMade for Capsule Plarailhas been resized.It's a really neat product (lol) I guess I'll have to try a little harder (lol)
The biggest difficulty in running the mini layout is the connections.At first, the hook and loop that come with Hakotetsu?I tried to deal with it, but it doesn't look pretty (lol), but with a normal coupler, it goes off the rails when making a curve.It's not beautiful to widen the distance between cars.I was thinking of spending money to buy a retractable coupler, but since I'm a poor person, I didn't have the budget (lol).In the end, I attached the base of the coupler itself so that it could swing, and made it bend in two stages.I wanted to close the distance between cars as much as possible, so I decided on the axle position and coupler mounting position so that the distance between cars would be as close as possible on a curve with a radius of 60mm, and I was able to clear the curve without any problems.This is what it looks like when making a curve.
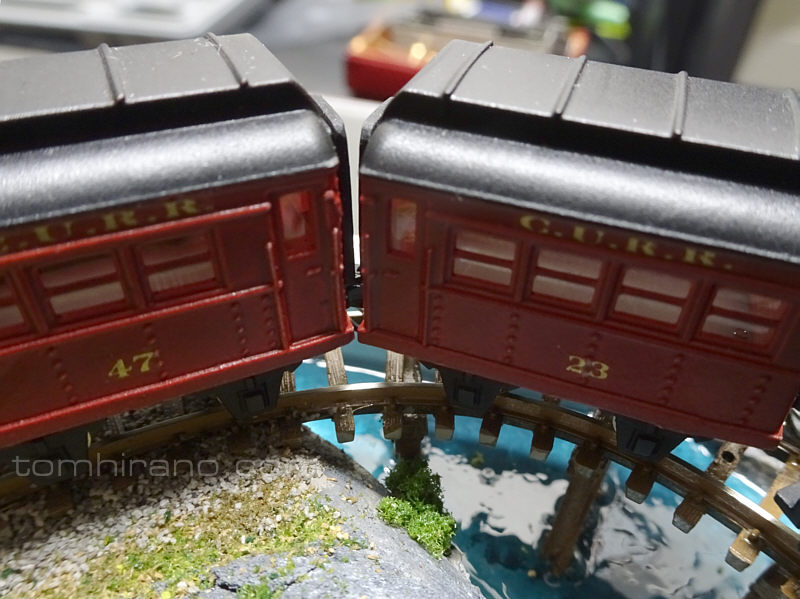
The biggest difficulty with a device that bends along with the base of the coupler is when connecting it.You need to align the necks with your fingers when connecting.However, since that's all there is to it, a limited layout like this one might be enough.
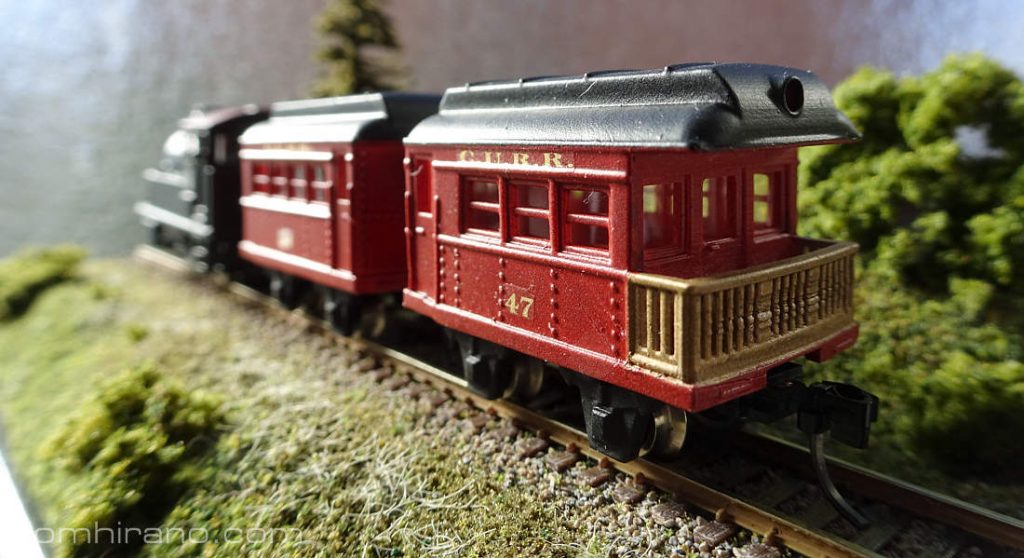
Completed three cars for the CURR (Central Union Railroad) overhead railway company.
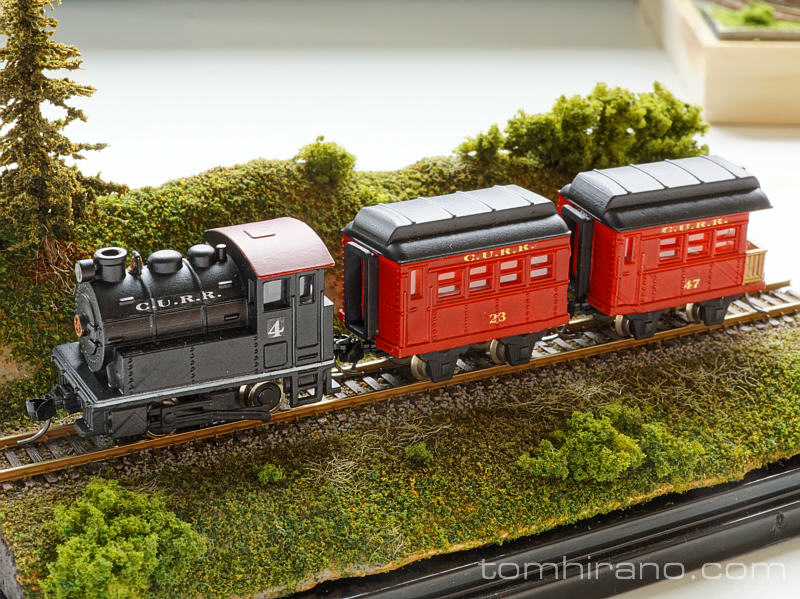
I'm satisfied because when I lined them up, they looked quite similar.Although the shooting and editing was sloppy, I also uploaded the video.Please smile ^^